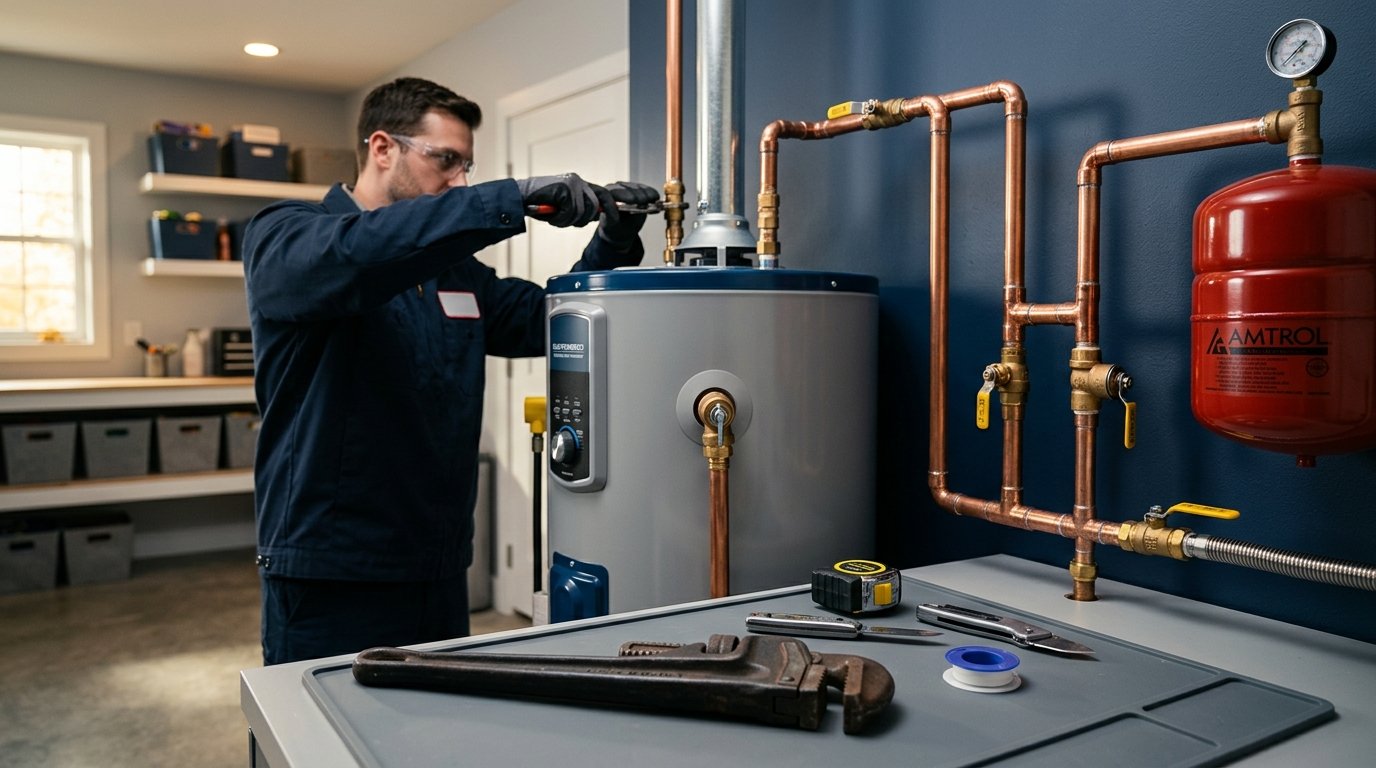
Emergency Action Checklist (Take Action Now)
- Step 1: Shut Off the Water Supply: Turn the cold water shutoff valve at the top of the tank clockwise (or 90 degrees if it's a ball valve). If inaccessible, shut off your main home water meter.
- Step 2: Shut Off the Fuel Source: For gas units, rotate the gas thermostat dial to "OFF" and shut the gas valve. For electric units, switch OFF the double-pole 30-amp breaker.
- Step 3: Relieve Water Pressure: Turn on the hot water tap on a lower-level bathtub or outdoor hose bibb to relieve pressure inside the leaking vessel.
- Step 4: Protect Attic Ceilings: If your unit is in the attic and water is pooling above sheetrock, place buckets underneath and puncture a small weep hole with a screwdriver to prevent a catastrophic ceiling collapse.
- Step 5: Call for Emergency Dispatch: Contact Rowlett Hot Water Pros at (214) 646-2148 for 24/7 same-day emergency assistance.
A ruptured water heater is one of the most destructive plumbing emergencies a homeowner can experience. When an attic tank bursts or leaks, fast emergency response is essential to mitigate severe structural ceiling and flooring damage.
A typical residential water heater holds 40 to 50 gallons of water under continuous municipal pressure (often 60 to 80 PSI). If the inner steel vessel ruptures or a fitting blows out, municipal water will continue pumping indefinitely until someone manually shuts off the supply valve. Follow this exact emergency procedure to protect your property and family from catastrophic damage.
Step 1: Shut Off the Water Supply Immediately
Cutting the incoming pressurized water stops the flood from expanding from a 50-gallon leak into a continuous, whole-home disaster.
Option A: The Water Heater Dedicated Shutoff Valve
Locate the cold water inlet pipe connected to the top right of the water heater tank. Look for the manual shutoff valve installed on this pipe:
- Quarter-Turn Ball Valve (Lever Handle): Rotate the handle 90 degrees so that the lever is perpendicular to the pipe. This shuts off water flow instantly.
- Gate Valve (Round Wheel Handle): Rotate the wheel clockwise (righty-tighty) several complete turns until it stops securely. Caution: Older gate valves can become brittle or corroded; turn firmly but do not use excessive wrench leverage that could snap the stem.
Option B: The Main Home Water Shutoff Valve
If the valve on top of the water heater is frozen, corroded, or spraying water so violently that you cannot reach it safely, skip it and shut off your entire house immediately:
- Interior Main Shutoff: Usually located in the garage, utility closet, or near the front exterior hose bibb.
- Curb Meter Box: Located near the street or sidewalk inside a rectangular cast-iron or plastic ground box. Use a water meter key or crescent wrench to rotate the curb stop brass valve 90 degrees until the padlock holes line up.
To inspect aging attic pans and test secondary drain lines, schedule an assessment with Rowlett emergency plumbing specialists before tank fatigue causes catastrophic ceiling collapse.
Step 2: Shut Off the Power or Fuel Supply
Once water pressure is isolated, you must disable the heating source immediately. A water heater that loses water while its heating source remains energized can burn out electrical elements, overheat internal components, or crack combustion chambers.
For Gas Water Heaters
- Locate the thermostat control box on the lower front of the tank.
- Rotate the temperature dial clockwise all the way to the "OFF" position.
- Locate the manual gas shutoff valve installed on the yellow gas pipe near the base. Turn the lever 90 degrees so that it sits perpendicular to the gas pipe, completely cutting the fuel supply. For gas line and valve inspections, see our gas water heater repair services.
For Electric Water Heaters
- Go directly to your home's main electrical breaker panel.
- Locate the dedicated double-pole 30-amp circuit breaker labeled "Water Heater."
- Switch the breaker firmly to the OFF position.
- Important: If the area around the electrical panel is wet, or if you must stand in pooled water to reach the panel, do not touch it. Call the electric utility or emergency plumbing dispatch to assist. Our electric water heater repair specialists can inspect electrical damage safely.
Step 3: Relieve Tank Pressure & Mitigate Attic Ceiling Collapses
Even with the cold water inlet closed, the water heater remains pressurized with 40 to 50 gallons of water.
Relieving Hydraulic Pressure
Go to your lowest-level bathroom or kitchen sink and turn on the HOT water tap. This bleeds off trapped pressure inside the water heater, slowing down the rate of leakage through the damaged seam or fitting.
Attic Installations: Preventing Ceiling Collapse
If your water heater is located in a second-story attic, a major leak will quickly fill the emergency drip pan. If the pan's secondary drain line is clogged or overwhelmed, water will overflow onto the attic decking and pool on top of the drywall ceiling below.
Sheetrock drywall absorbs water rapidly, becoming extremely heavy until the entire ceiling section collapses under its own weight, causing severe structural and interior damage. To protect your home:
- Place large plastic storage tubs or buckets directly beneath the damp spot on the ceiling.
- Take a long screwdriver or broom handle and poke a small hole in the center of the sagging, discolored sheetrock.
- This allows trapped water to drain in a controlled stream directly into your bucket rather than spreading across the ceiling framing until it collapses.
Step 4: Gravity Draining the Remaining Water
To stop water from continuing to seep through the leak point, drain the remaining volume from the tank:
- Connect a standard garden hose to the threaded brass drain valve at the bottom of the heater. Follow the instructions in our water heater flushing guide for complete drain procedures.
- Run the other end of the hose to a safe exterior drainage point (driveway, street, or lawn).
- Open the drain valve with a flathead screwdriver.
- Ensure a hot water faucet inside the home remains open to break the vacuum seal and allow water to flow freely.
Step 5: Assessing the Leak Origin (Can It Be Repaired?)
Once the emergency is stabilized, inspect where the water originated to determine whether the issue is a simple component repair or a total tank replacement:
| Leak Location | Likely Root Cause | Repair vs. Replace |
|---|---|---|
| Top Flex Lines / Dielectric Nipples | Loose threaded connection or corroded rubber gasket | Repairable: Replace flexible connectors and nipples |
| T&P Relief Valve Discharge Pipe | Overpressure, thermal runaway, or faulty valve spring | Repairable: Replace T&P valve and test expansion tank |
| Bottom Drain Bibb Threads | Worn washer or sediment jammed in valve seat | Repairable: Cap with brass hose cap or replace drain valve |
| Electric Element Gaskets | Degraded O-ring seal around element mounting hex | Repairable: Replace element gasket and re-torque |
| Lower Outer Jacket / Bottom Seams | Internal steel cylinder cracked or rusted through | Non-Repairable: Total water heater replacement required |
Shut off the cold water supply valve and the circuit breaker or gas supply immediately, then call for prompt emergency heater repair from licensed master plumbers.
Critical Safety Warnings: What NEVER to Do
- Never Step in Standing Water Near Electrical Equipment: If water has pooled near an electric water heater, circuit breaker panel, or submerged electrical outlets, stay out of the water until power is verified cut.
- Never Ignore the Smell of Natural Gas: If you smell rotten eggs (mercaptan) during a water heater emergency, evacuate the premises immediately and call 911 or Atmos Energy from outside the home. Do not operate light switches or spark sources.
- Never Plug or Cap a Discharging T&P Valve: Capping a leaking pressure relief valve turns your water heater into an unvented pressure vessel that could burst violently under thermal runaway.
What to Tell Emergency Dispatch When You Call
When calling for 24/7 emergency water heater service, having this information ready helps our technicians arrive with the exact replacement unit and parts on the truck:
- Fuel Type: Natural gas, propane, or electric?
- Location in Home: Garage, ground-floor closet, or second-story attic?
- Tank Capacity: 40, 50, or 75 gallons (check the rating sticker)?
- Brand and Model / Serial Number: Take a quick photo of the manufacturer label on the side of the tank with your smartphone.
At the Rowlett emergency water heater dispatch team, we operate dedicated 24/7 rapid response response teams throughout Rowlett and Rockwall emergency service. We arrive with fully stocked trucks ready to perform same-day tank replacements, complete code-compliant installations, and haul away the failed equipment. Call our direct emergency line now at (214) 646-2148.